- HOW TO PAINT ABSTRACT ART -
A COASTAL ART TUTORIAL, USING A NAUTICAL ROPE KNOT
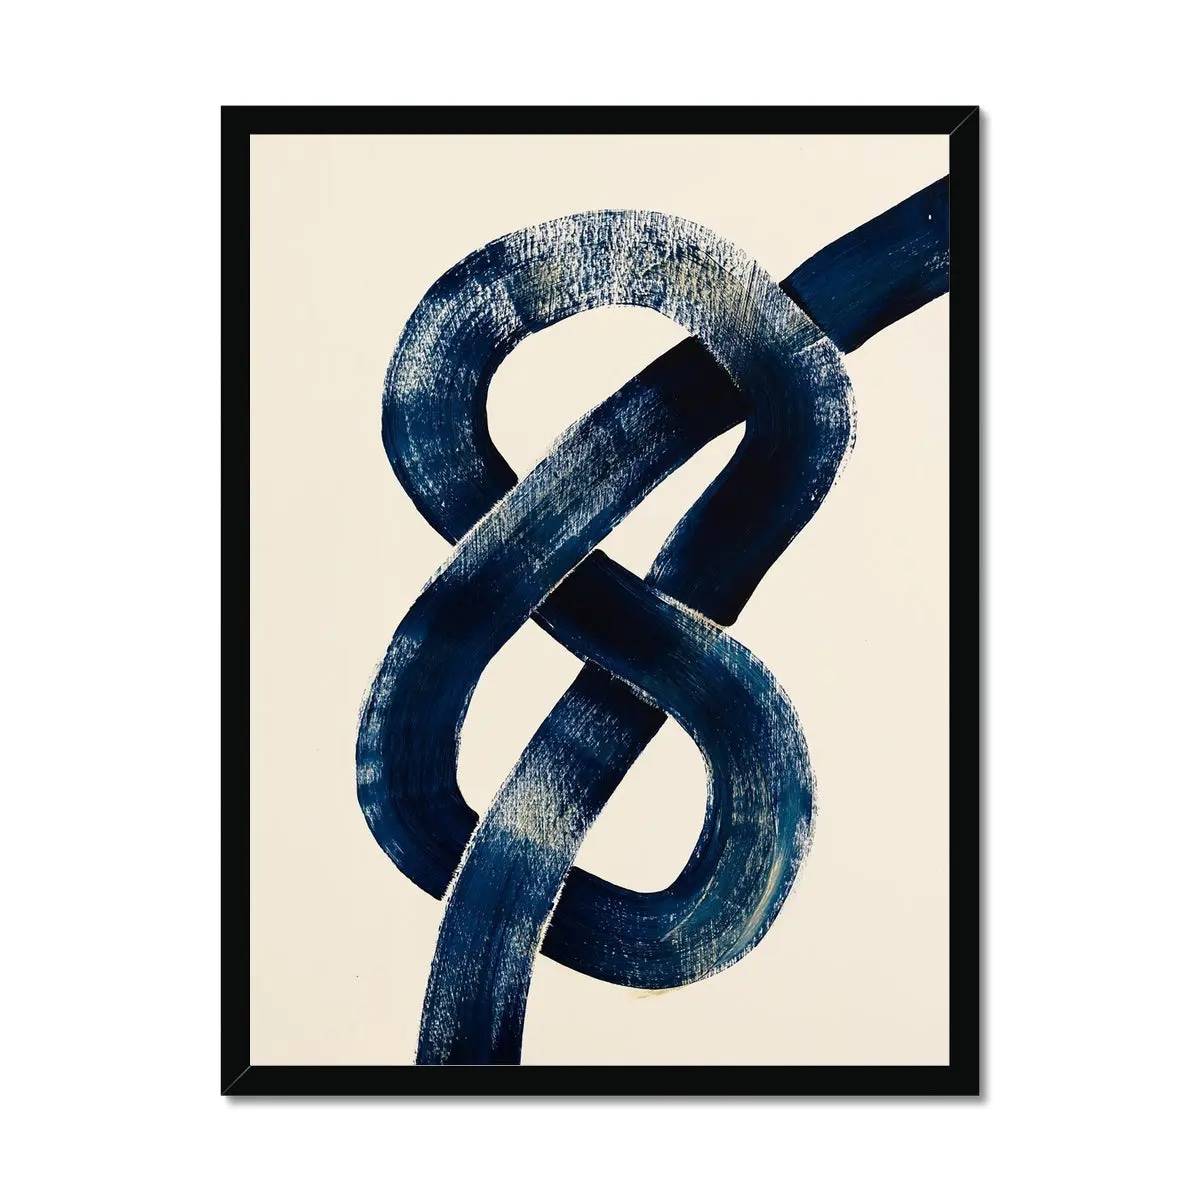
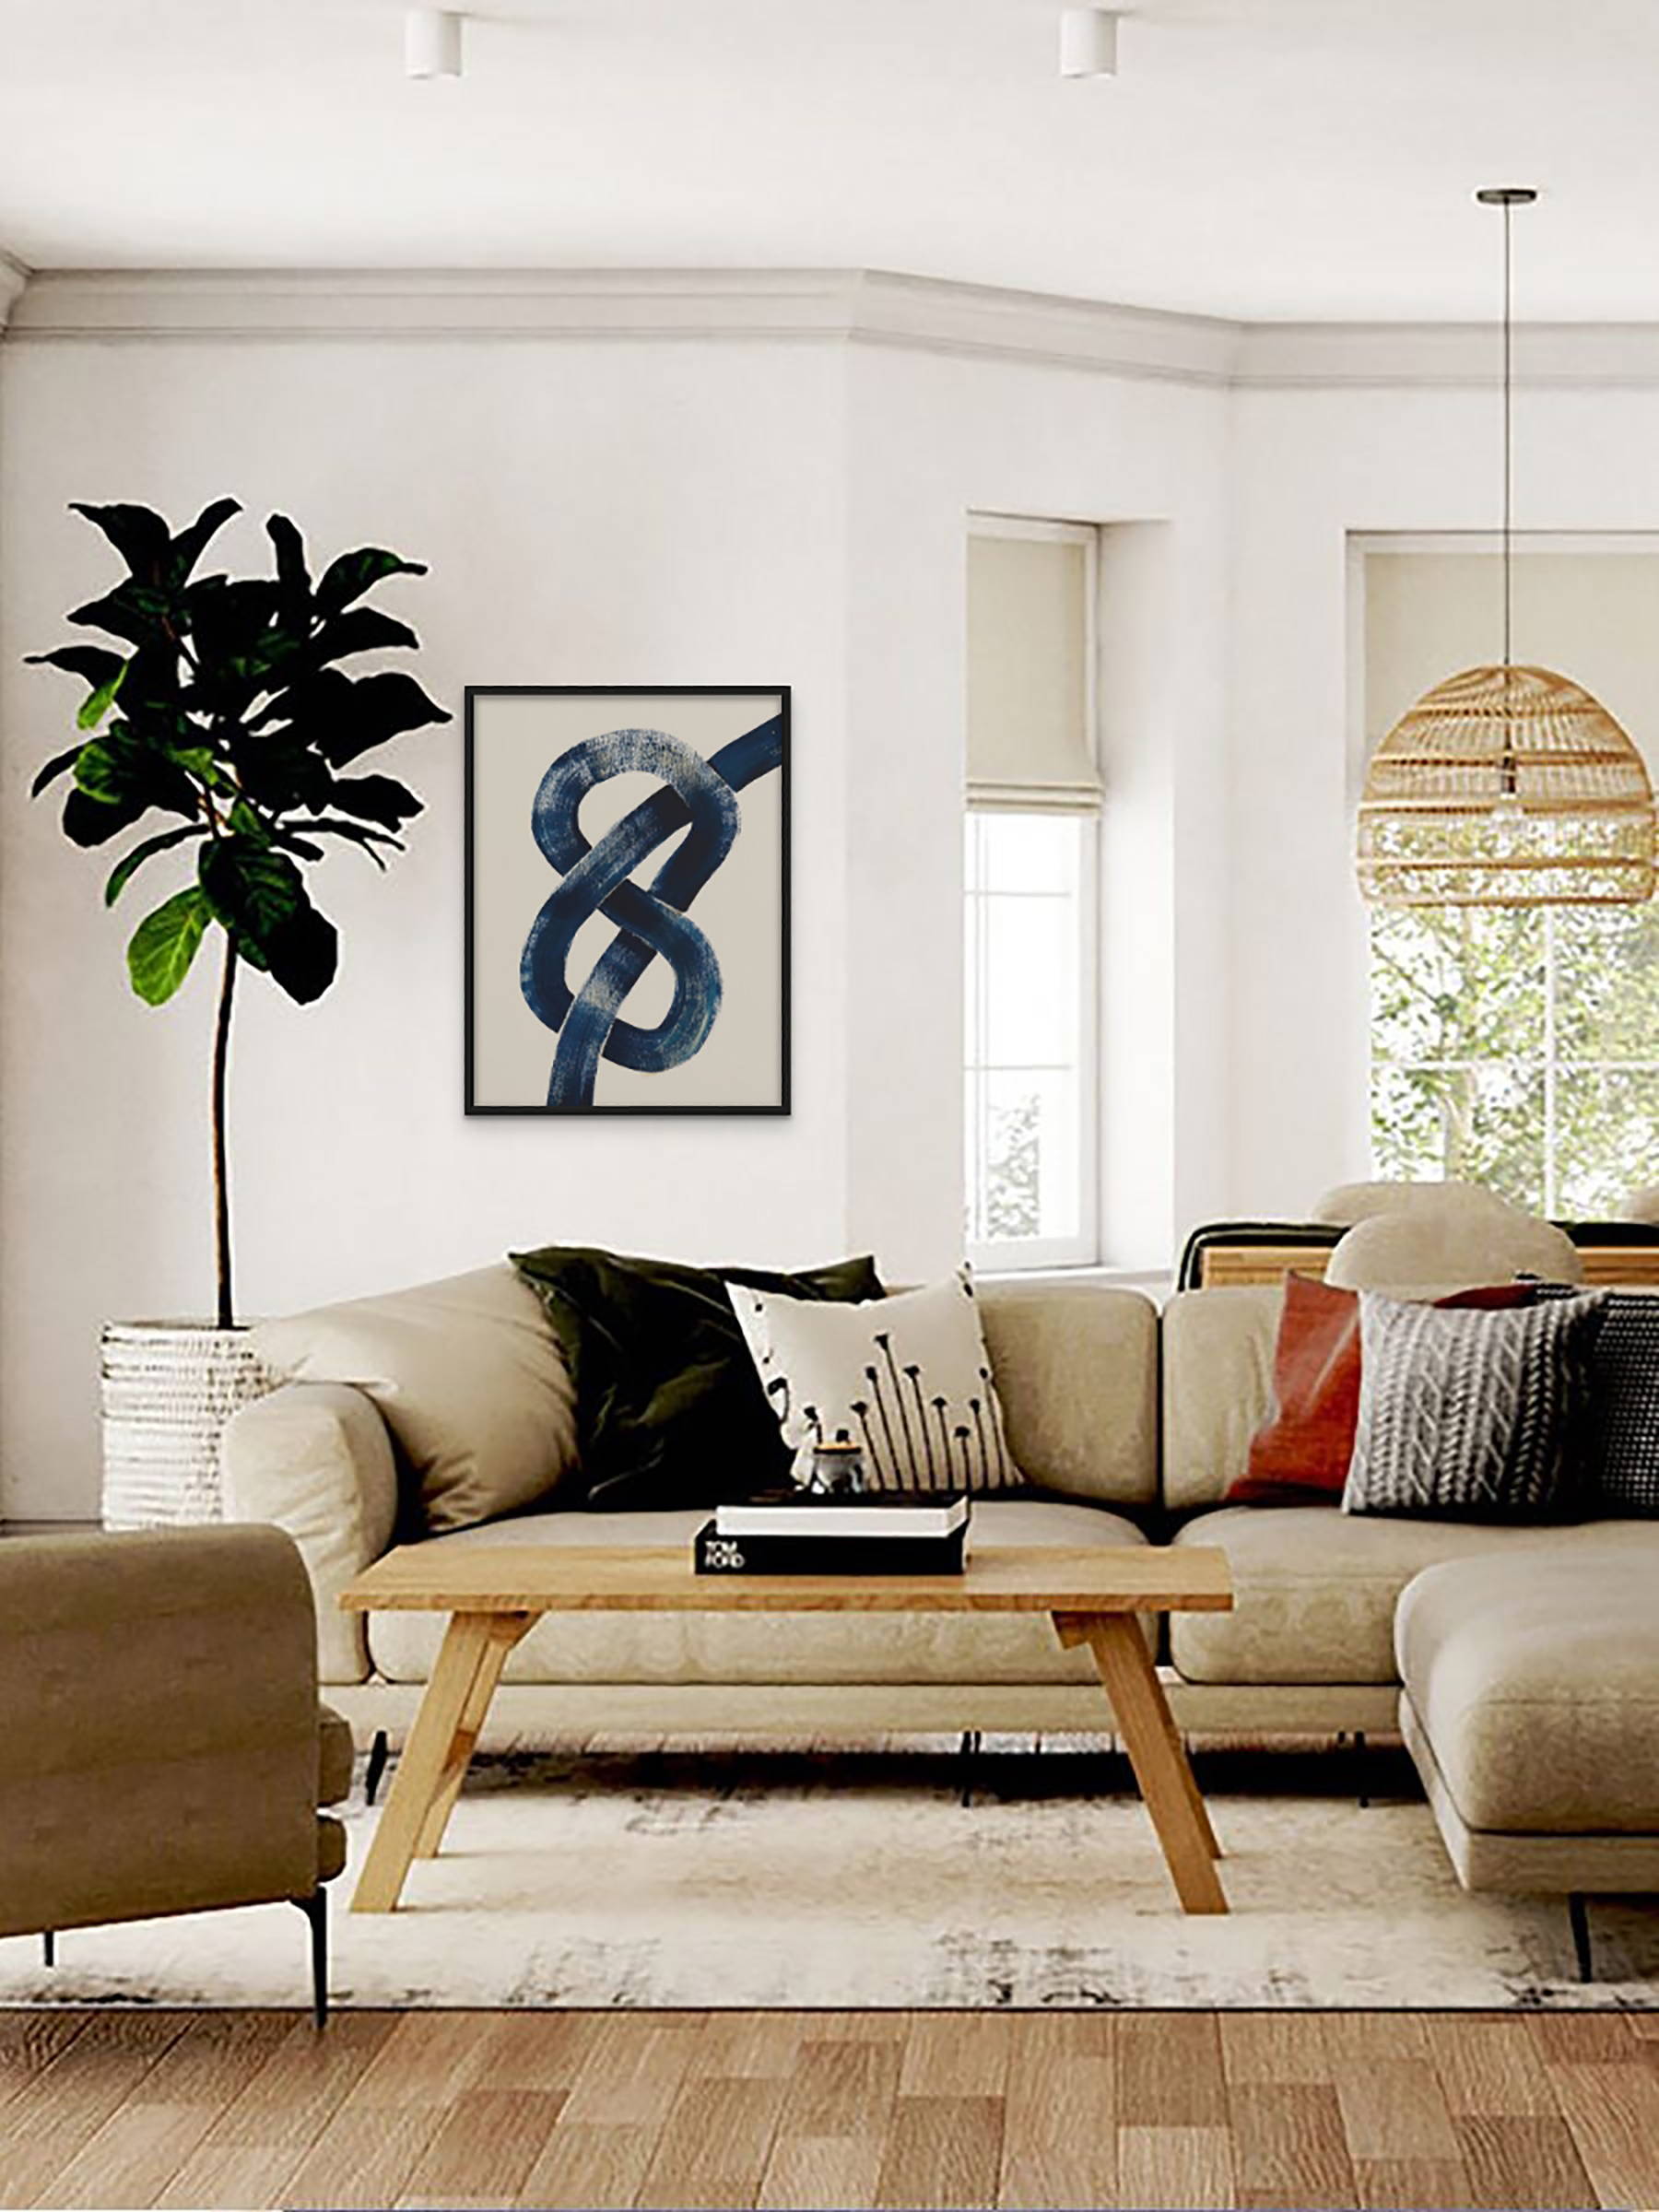
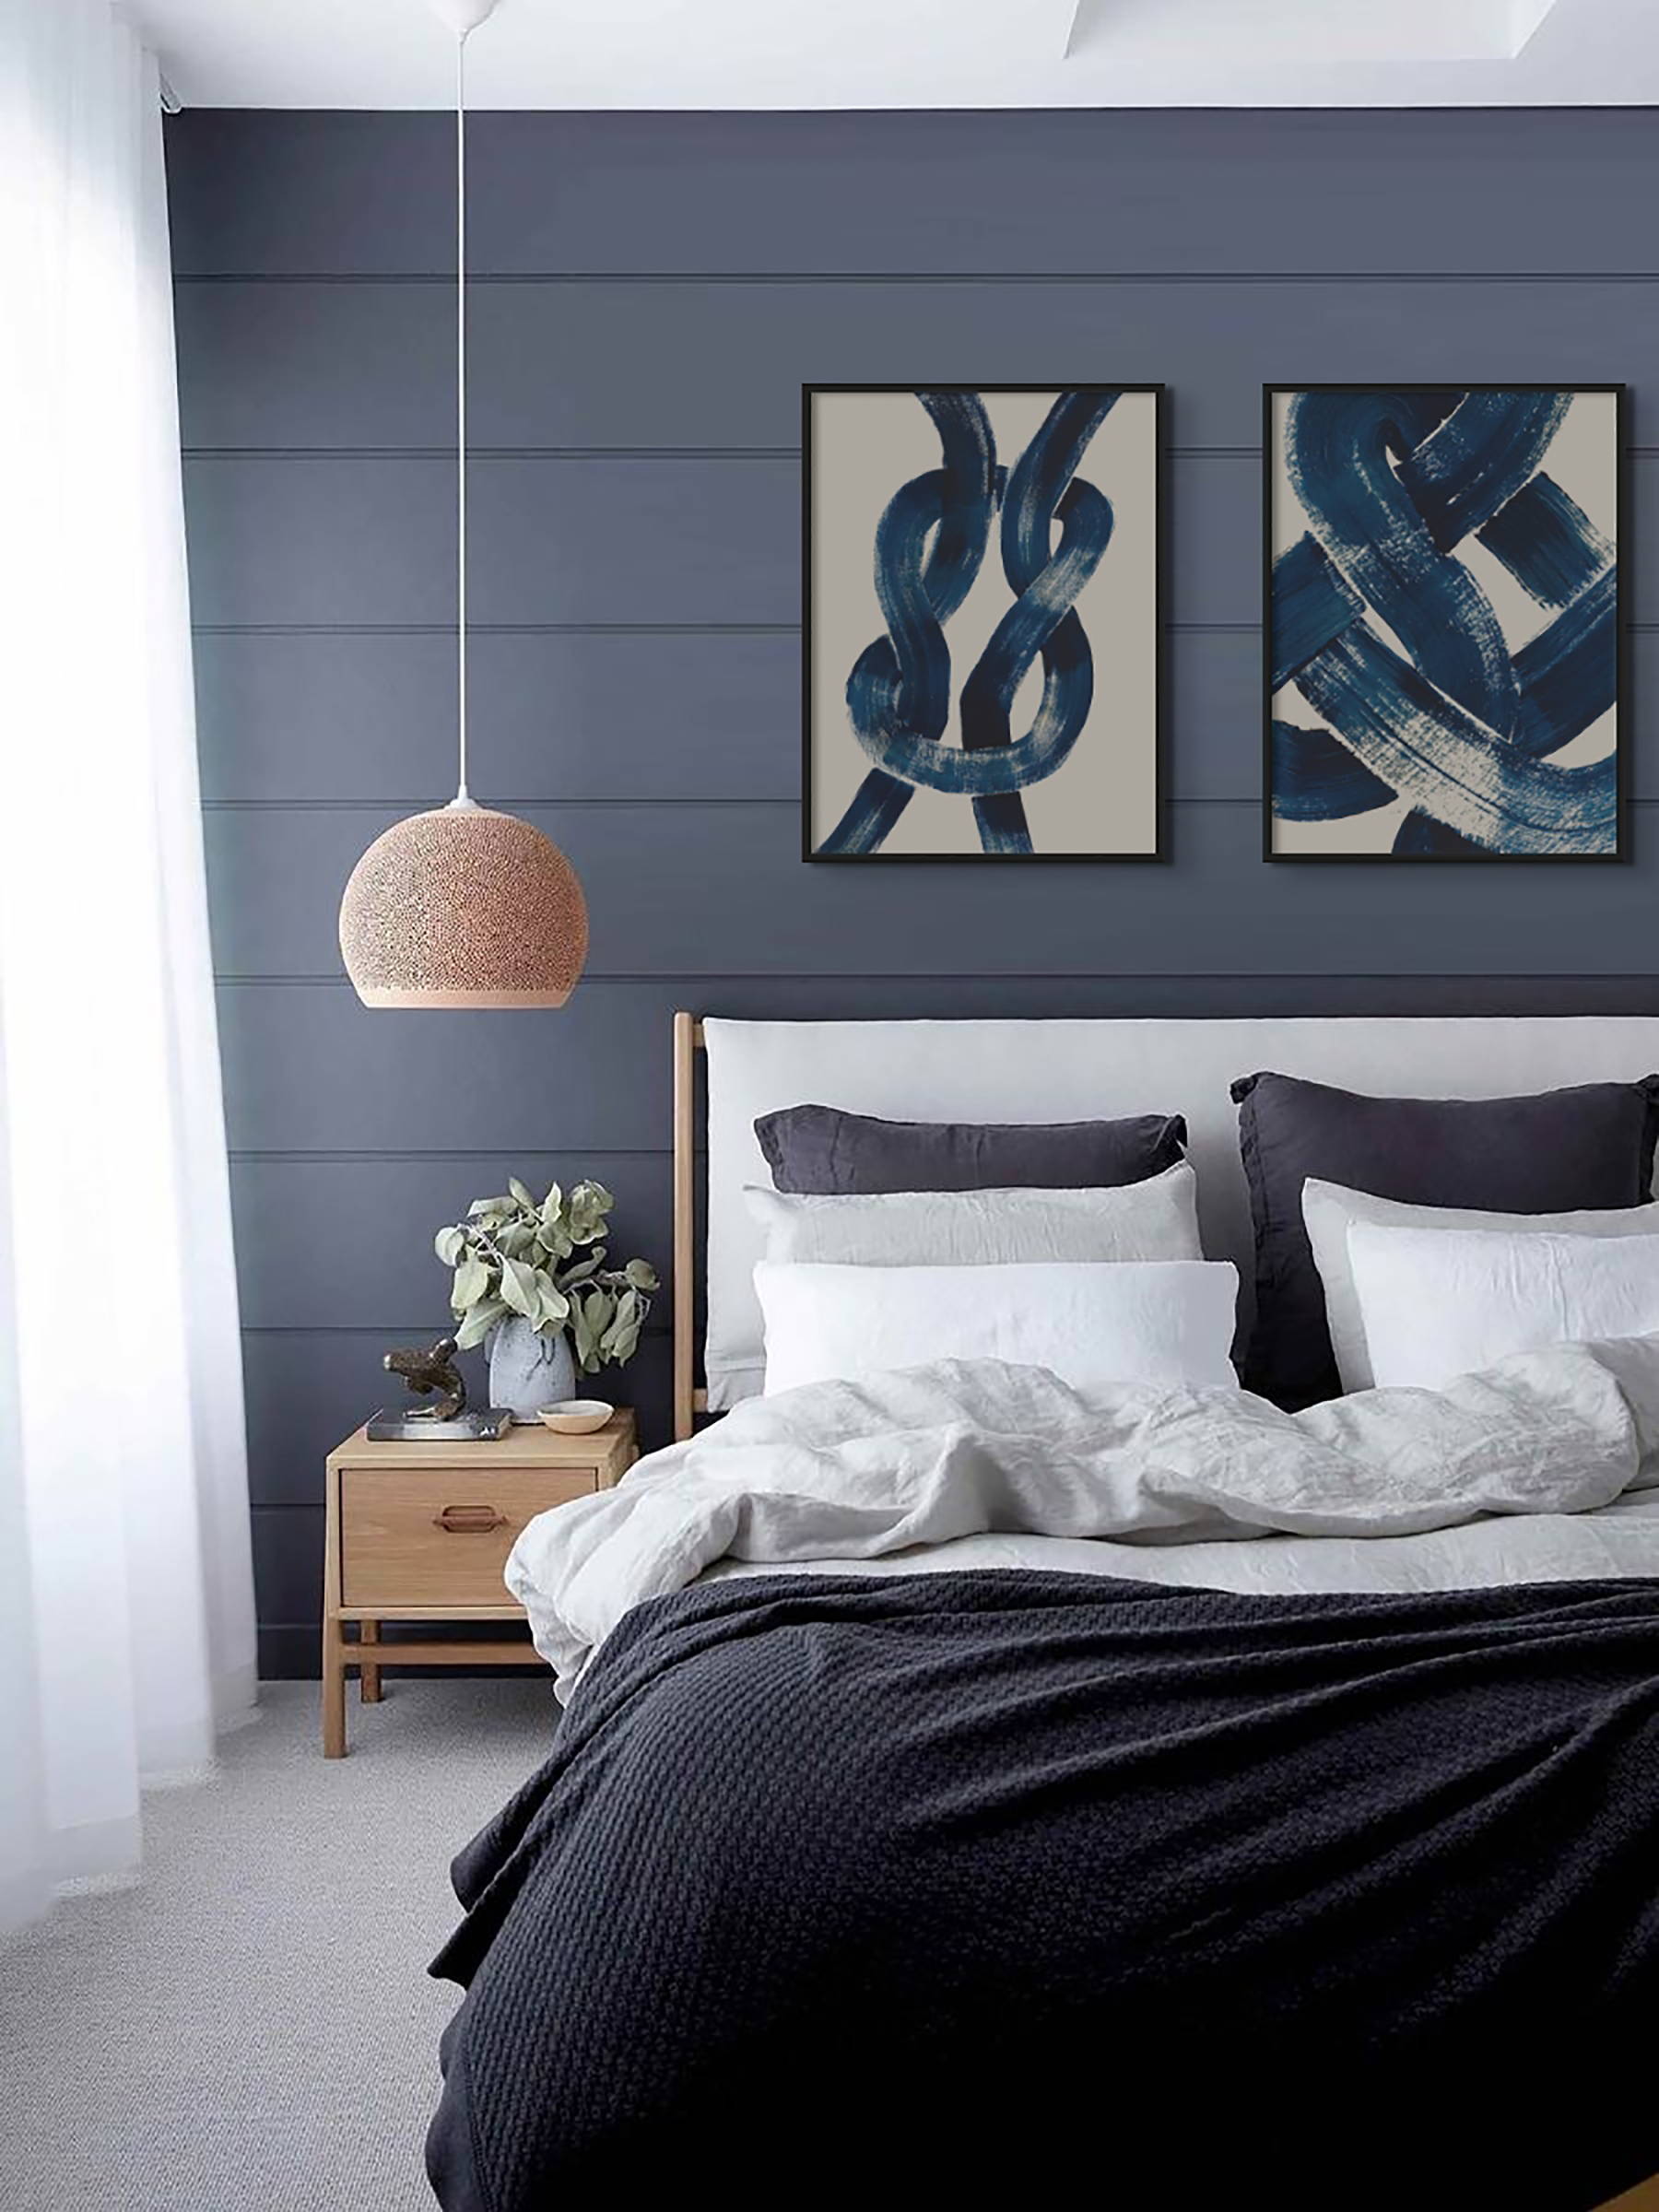
Our ‘Knot Series’ of abstract blue art prints are some of the most popular line art prints in our coastal art collection and are a key addition in any coastal interior. If you're looking to introduce a touch of nautical decor in your home, or you fancy trying your hand at a creative project, here's an insight into the clever tricks we used to create them.
How to Paint a Nautical Knot - A Free Art Tutorial
This simple, step-by-step tutorial is easy to follow and will give you the basic skills to create your own stunning abstract line artwork. Blue wall art is key to the coastal decor trend, but you can paint your wall art in colours that complement your interior.
The Figure of Eight Knot nautical art - a Beach House Art bestseller
Learn How to Paint Abstract Line Art with us
GETTING ORGANISED - You will need:
Good quality paper
We use either heavy-weight Acrylic Paper (230gsm) or Watercolour Paper (300gsm) but if you want to practice your technique before creating your masterpiece art poster, you can use any paper until you are confident to start.
Masking Tape
We use ‘Frogtape’ - Low Tack Painter’s Masking Tape, as it’s easier to remove than traditional masking tape and won't rip the paper.
A Paint Brush
Decide the width of the line you would like your knot to have. It’s important that you select a brush that is exactly that width, as the success of the knot art is that each section is painted with one or two strokes only.
Paint
We like to paint a background to compliment the painted knot, so select two colours that you think complement each other – and your décor. We mix our own paint to get the right shade of blue. Here we used acrylic paint but you could try watercolour as well to give you a watery effect.
Hot Dryer
If you are impatient like me, use a hair dryer between paint strokes so the paint is 100% dry between layers, this means you can move faster and finish your line art paintings much quicker.
Rope
You can use any rope width as it is primarily used to create a natural knot shape. If you're creating nautical wall art, as we have, you will probably want to choose a shade of blue or perhaps black. A DIY store or chandler will have a good supply to choose from.
Watch Brian Paint a Blue Abstract Nautical Knot on YouTube
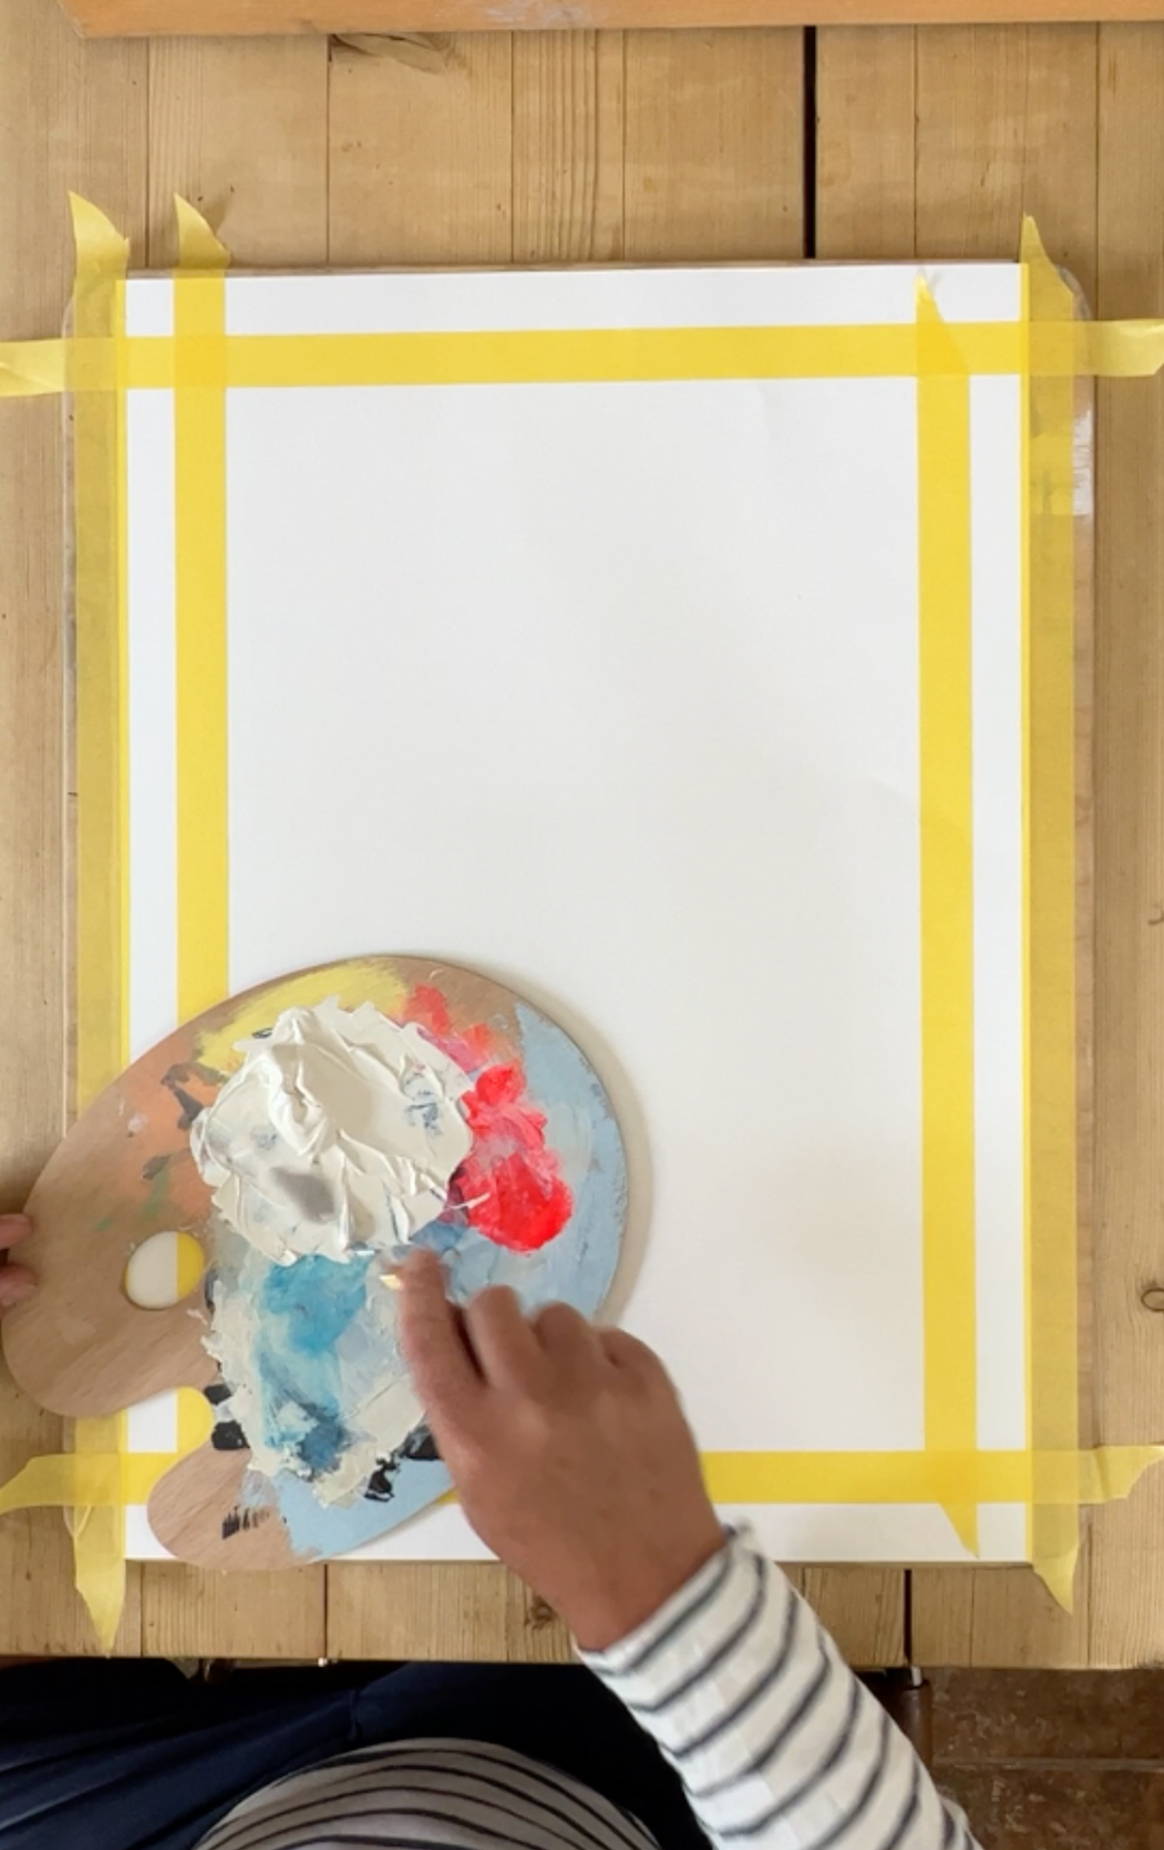
Step 1. PREPARE YOUR SURFACE
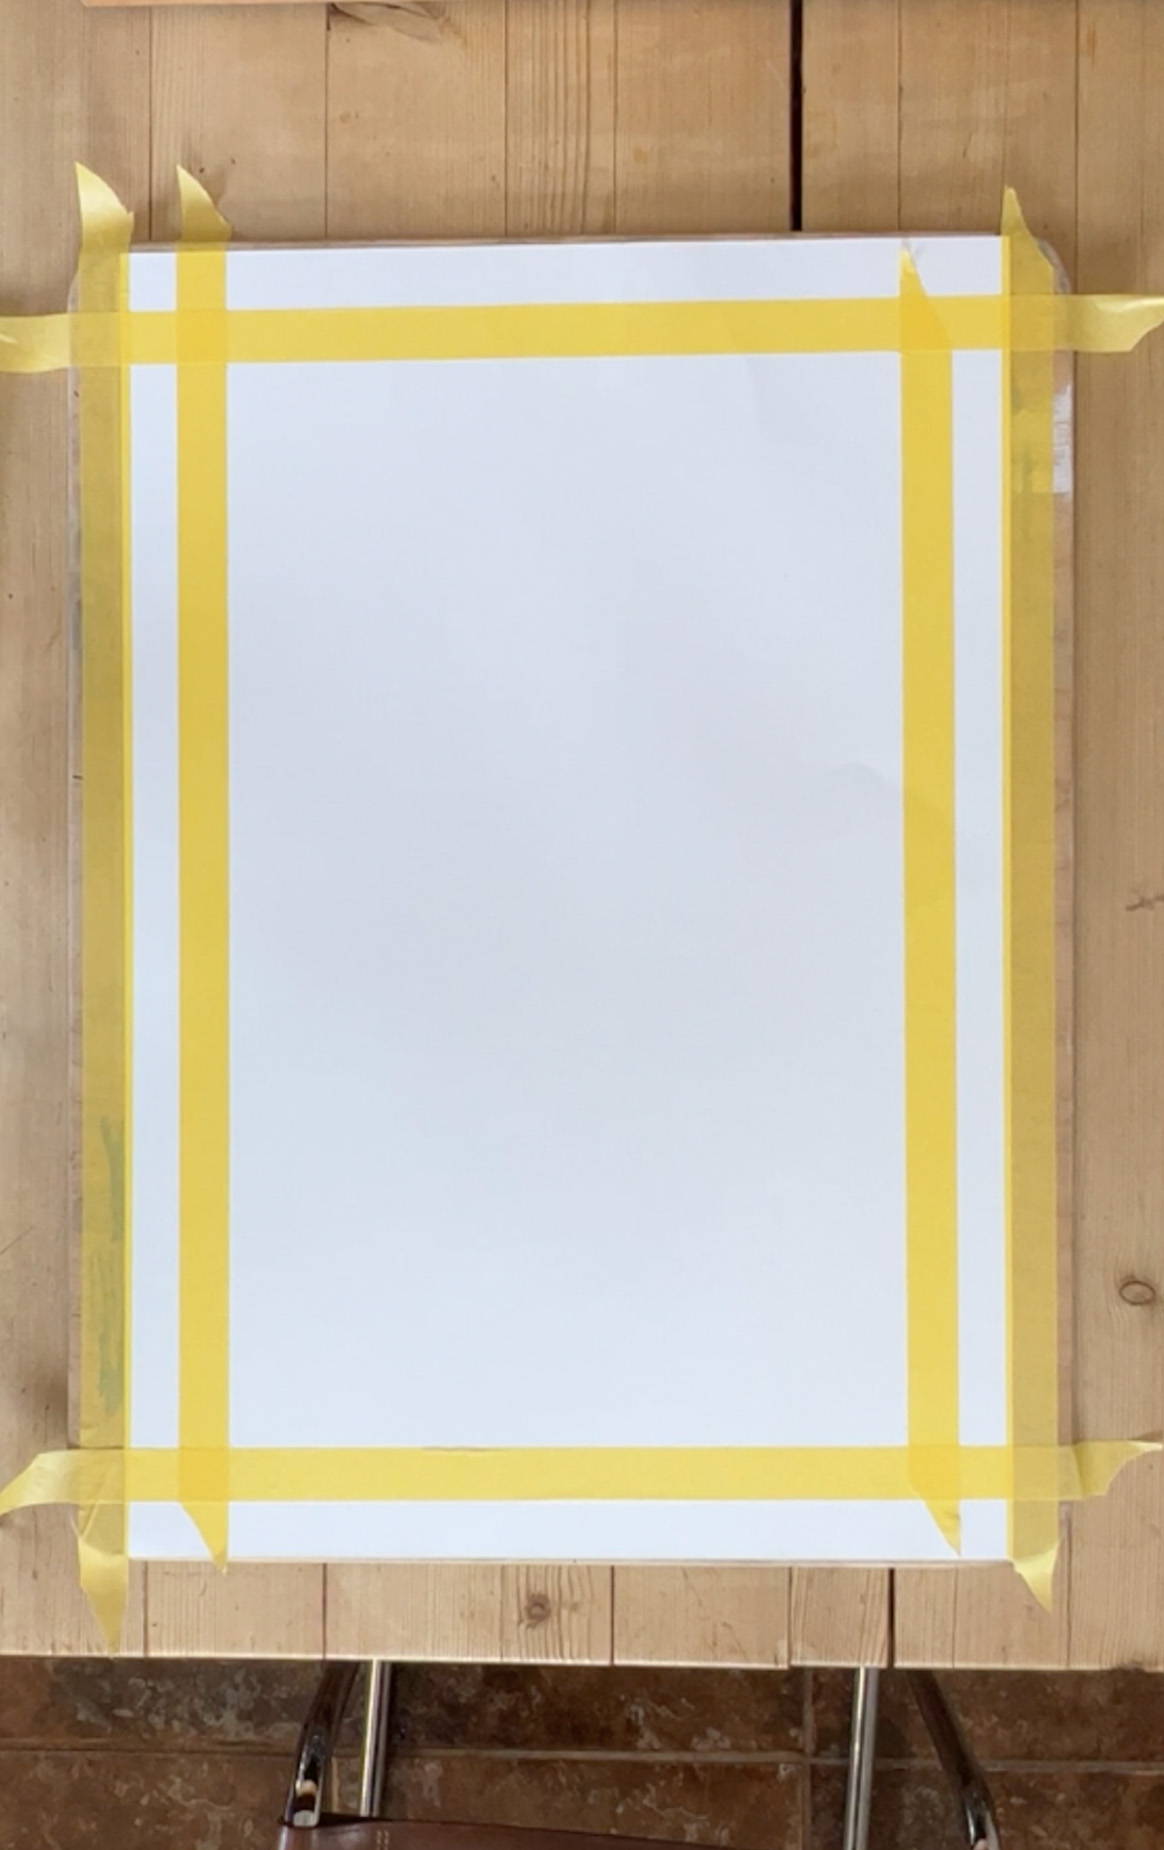
You will need to tape your paper down to a board or table. This is to stop it from wrinkling when you paint the background.
I like to have a bit of a border around the edge of the paper to create a focus, so I usually tape in about 5cm (2”) from the edge. Then I paint the entire surface within the tape border to create a complementary background.
You will need to wait until this is 100% dry in order to move on to the next steps.
Step 2. CREATE YOUR KNOT
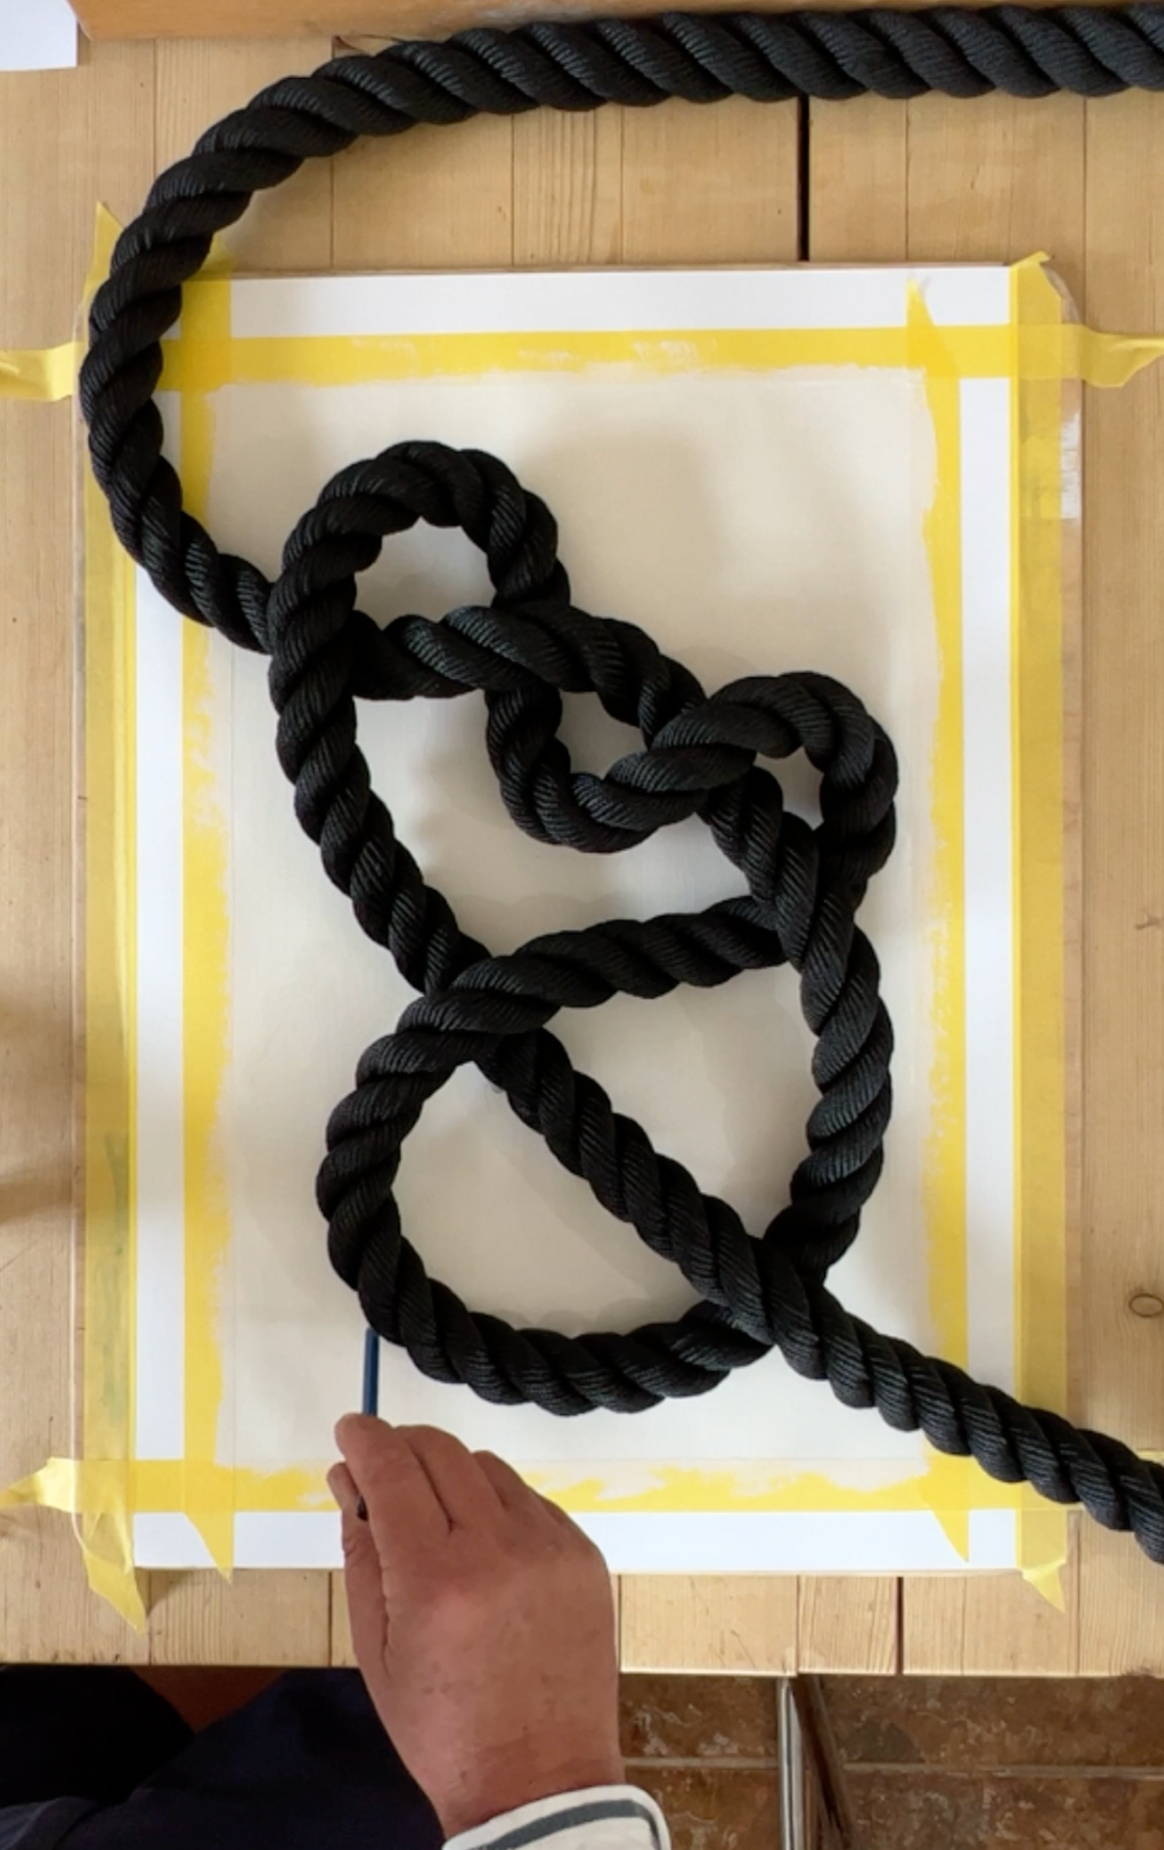
By using rope to create the knot you will end up painting, you will paint a real knot shape and you will understand where the rope crosses on top, or under itself. You will also be able to control the size and position of the knot. Find a pattern of knot which you want to paint, search for nautical knots, or sailing knots, online and then follow a pattern. You may want to start with something fairly simple until you get the hang of it.
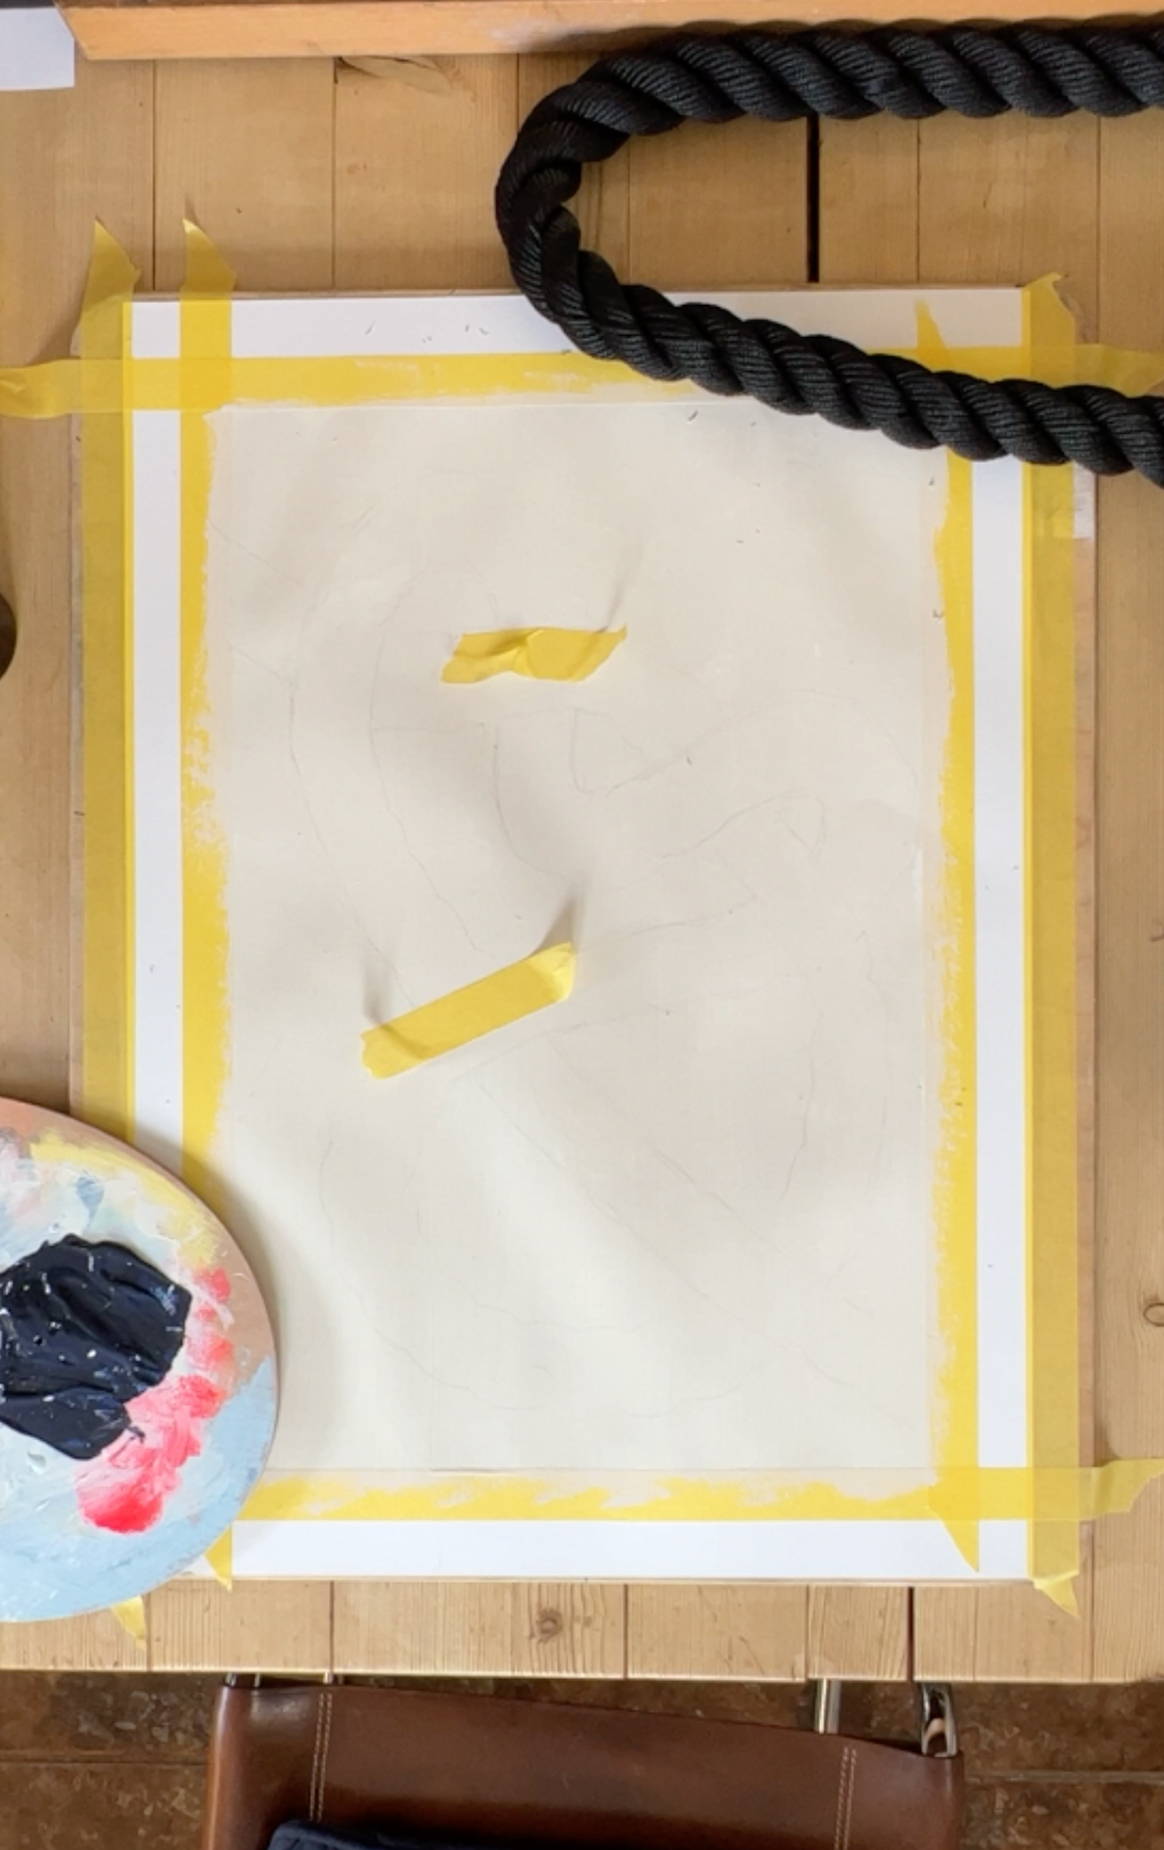
Loosely trace around the knot and once done, move it to the side to use as a visual reference during the painting process. Clean up the lines, distilling your drawing into a series of segments. Each segment will have a beginning and end.
Get ready to paint.
Once you have created your knot, use a pencil to lightly trace the outline
Step 3. GET PAINTING!
Mix the paint to your desired colour and if you are creating your own colour, make sure you have enough to do the whole painting, or even a collection of knot prints. It can sometimes be difficult to match the colour exactly if you have to make more. You can always find creative ways to use up left-over paint, such as painting old picture frames you find in the charity shop. This is a great way to start your own coastal wall art collection, or to build a gallery wall.
Select the first segment you are going to paint and use masking tape at the beginning and end of it, so that it will create a nice, clean line once you have painted.
TOP TIP: when sticking the masking tape down, curve it so it follows the edge of the segment it is going to connect with. This way the painted segment will fit naturally into the side of the adjoining segment.
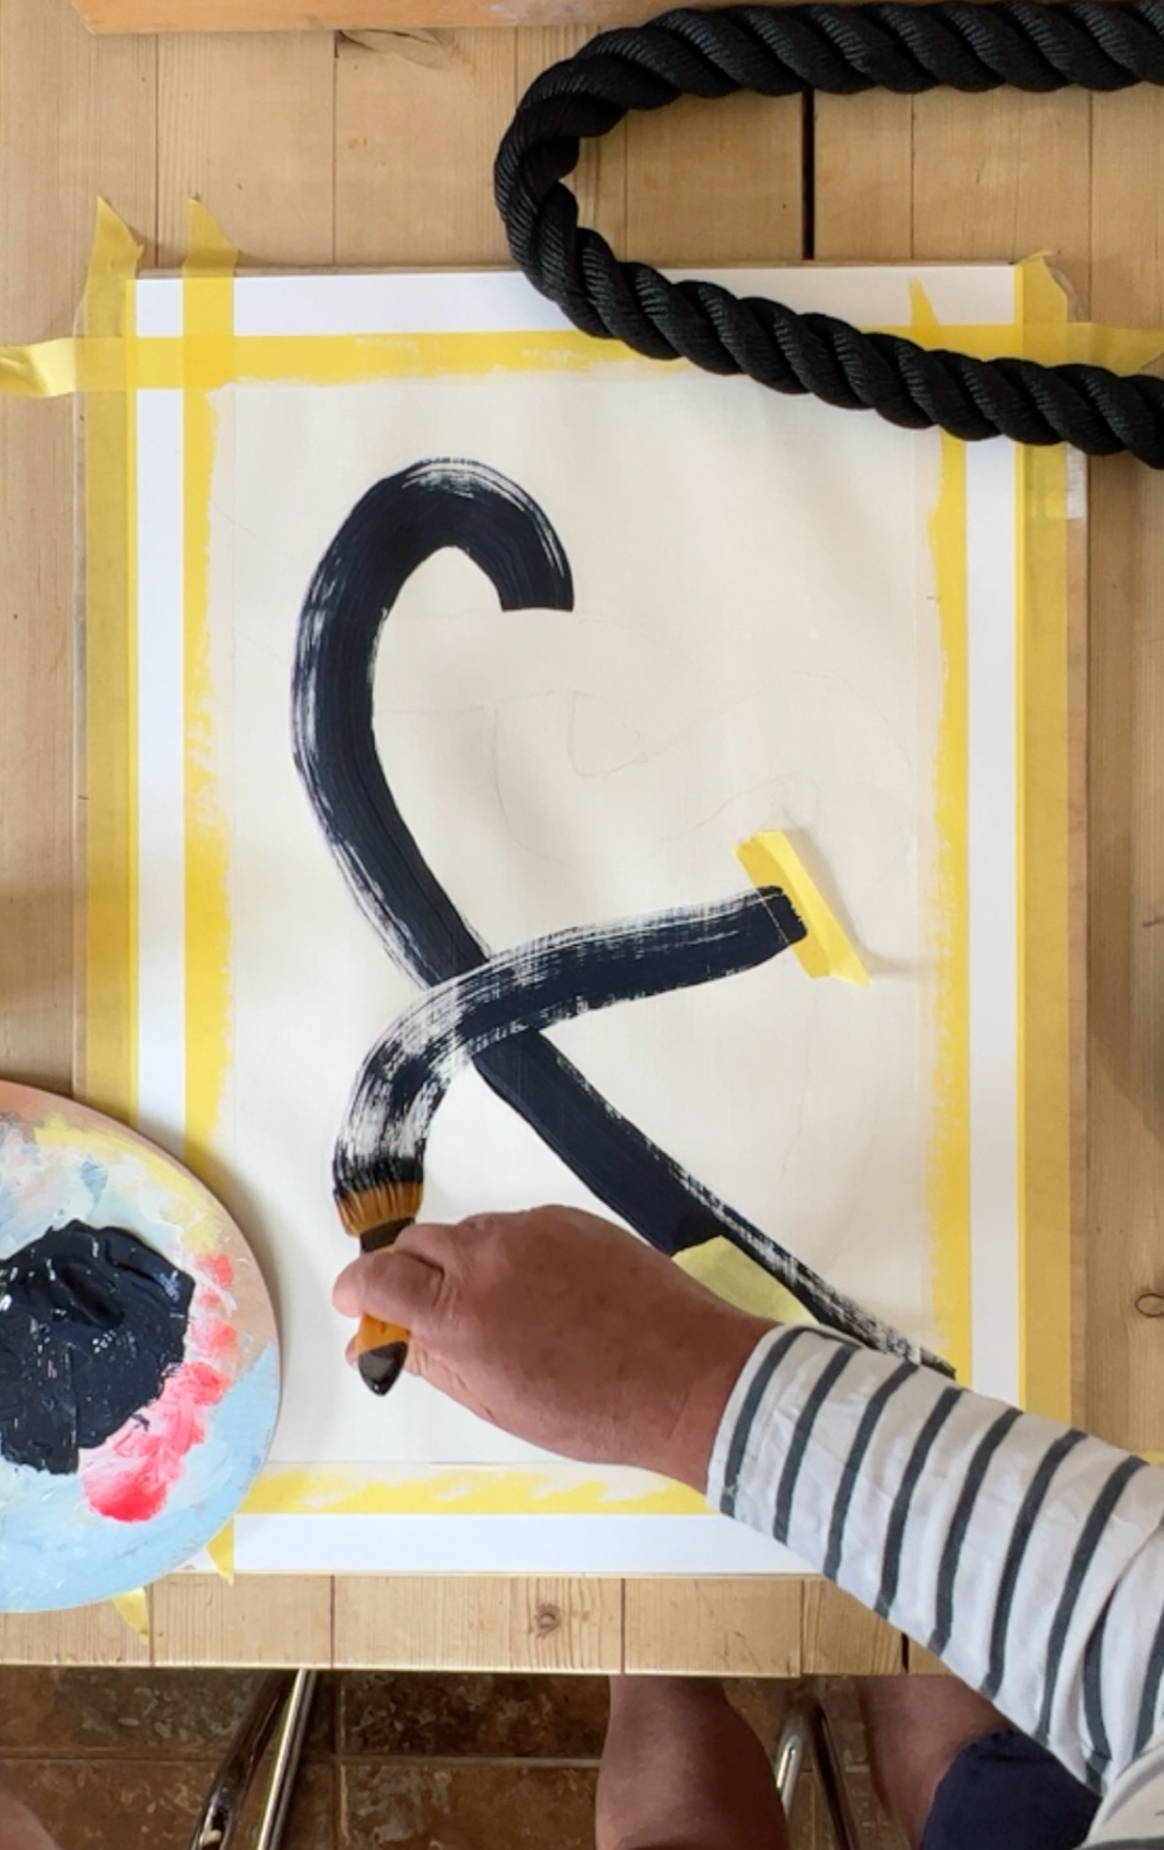
Once you have created your knot, use a pencil to lightly trace the outline
Load your brush with paint and starting on the tape on one end of the segment, make a confident stroke ALL THE WAY to the tape at the other end of the segment.
DON”T STOP HALF WAY!
Don’t worry if the paint runs out half way along your stroke as you can make a second stroke – but this time starting at the other end. The worst thing you can do is stop in the middle and lift your brush, just keep going.
By swapping the ends you start and finish on you will be putting more paint at each end of the segment, creating a realistic shading effect.
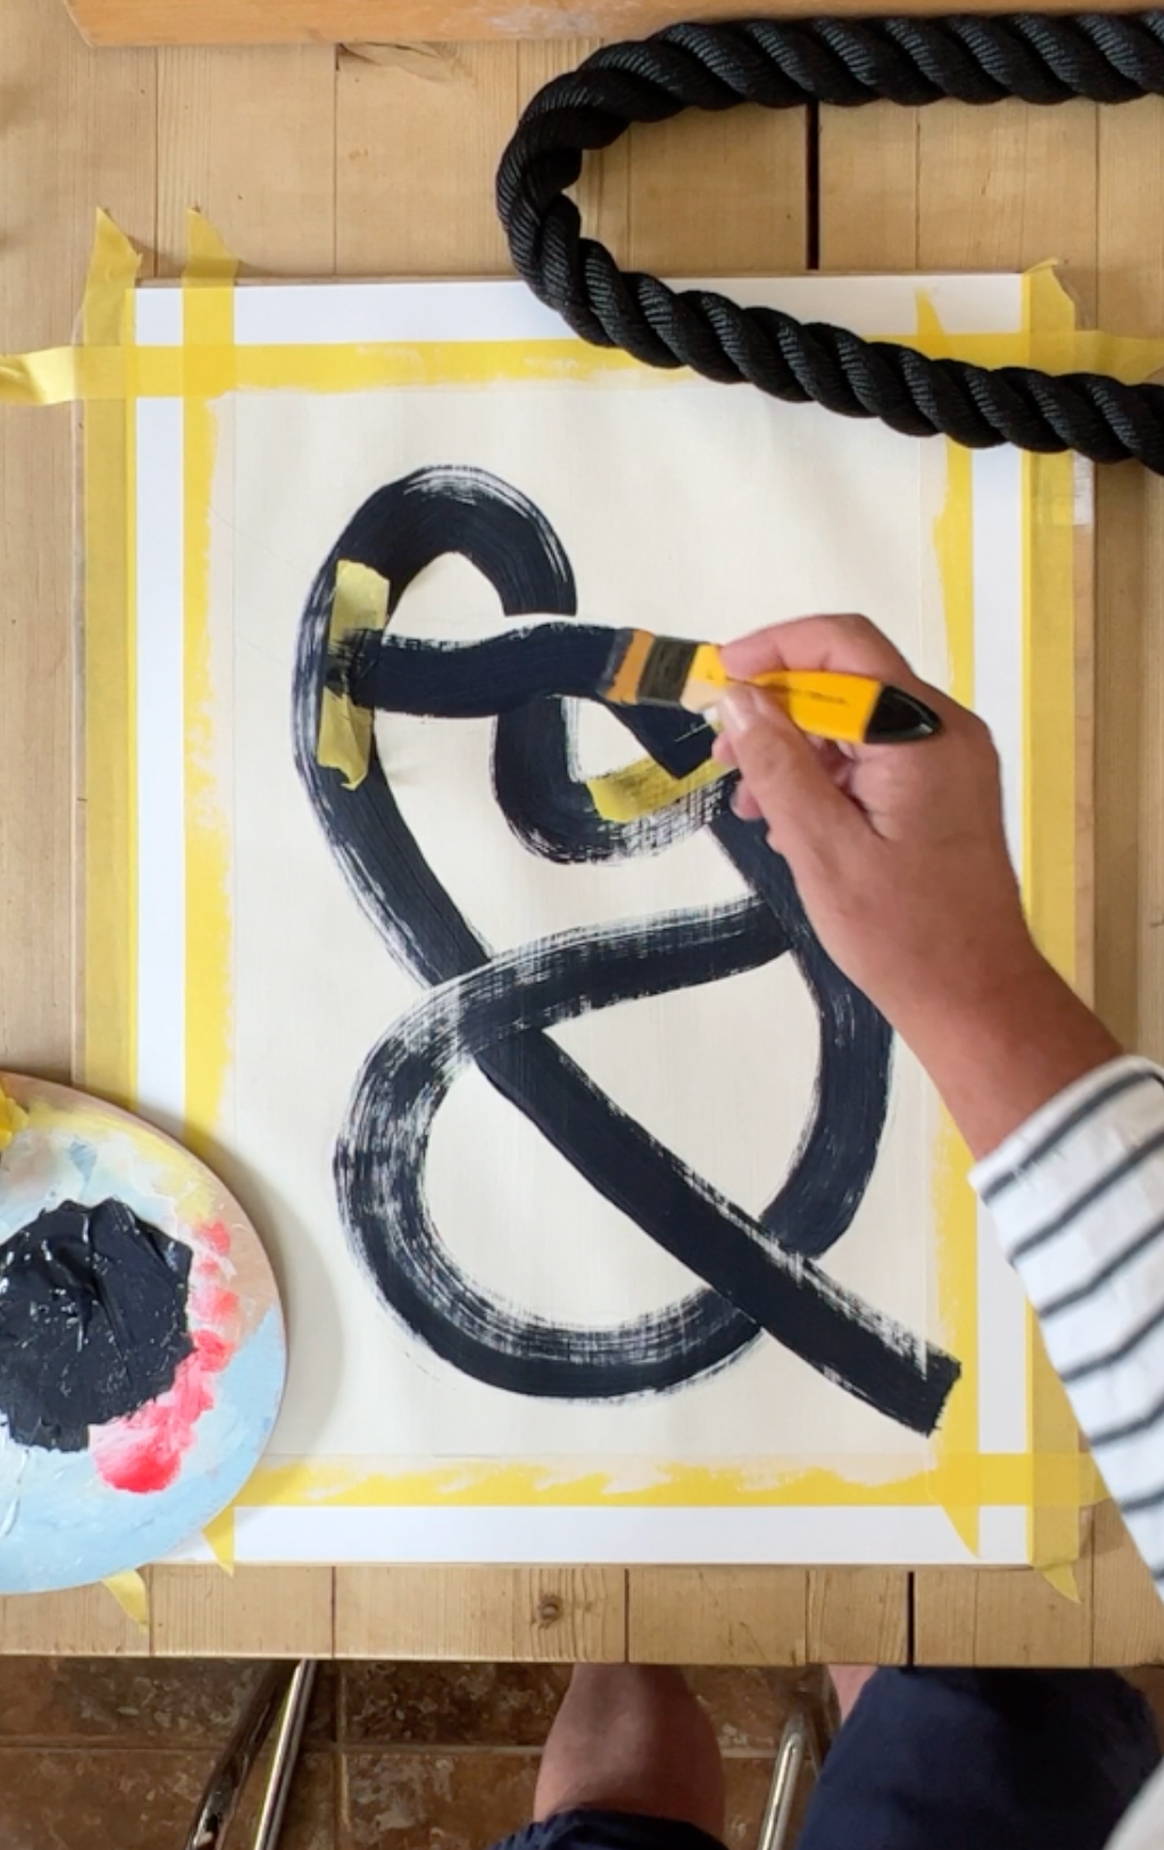
The end result doesn’t have to be a solid line, in fact we prefer it to be a bit distressed as it adds interest to the piece. Remember YOU are the Artist and the finished look of the brushstroke is YOUR artistic decision.

The finished artwork!
Remove the tape and wait or use a hair dryer to get that section 100% dry before tackling the next stroke.
Choose your next section and repeat these same steps, drying completely between sections until you have finished.
Step 3. THE REVEAL
Carefully remove all tape and voila! You have created your very own abstract art line painting of a nautical knot.
Of course, if you just love the nautical decor trend and don't fancy any of the mess of painting your own art prints, you can browse through our original art collections and find yourself the perfect art print for your interior. All of our wall art is available as art posters, printed using the giclée production method on heavy-weight fine-art paper, or you can chose to have your art prints hand framed by our professionals in our studio. We use solid wood to make our FSC-Certified picture frames, and your art prints will be delivered to you, ready to hang, packaged securely in rigid cardboard boxes. Read what our customers have to say about our art prints and framed art in these 5 star reviews. And if you'd like to know a little more about why we started Beach House Art, and who we are, you can read all about us here.
Check out our Instagram for inspiration from some of our customers who have used them as the centrepiece of gallery walls too.

